If you use Windows 10 and for your web pages in localhost you work with IIS (Internet Information Server), you may have serious difficulties in working with Wamp, the development platform for web applications that is based on: Windows Apache MySQL Php.
That's why I want to reveal to you in this article how to install wamp on windows 10 in a few simple steps.
How to install Wamp on Windows 10

After downloading Wamp from the official website, start the installation. At the end of the setup process, launch the application. You will notice that Wamp changes from red to orange, unfortunately without turning green (it is the state that communicates the functioning of the program).
Typing in the address bar http://localhost/ you will get 404 error and blank page. The reason is because the port 80 used by the Wamp server is already used by the Windows 10 IIS default server.
To solve the problem you will have to change the port number in Wamp by acting on thehttpd.conf on Apache.
Let's see how:
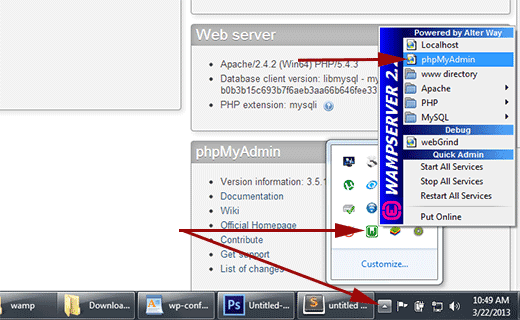
Click on the Wamp server icon (located next to the Windows 10 clock) and in the menu select Apace > httpd.conf (also reachable from C: wampbinapacheapachex.x.xconf).
A long text file will appear in notepad, scroll down to strip and it changes all the ports that are listening on 80 a 8080. Look for the voice too localhost: 80 and replace it with localhost: 8080.
In summary, replace the following lines:
Listen 0.0.0.0:80
Listen [::0]:80
with
Listen 0.0.0.0:8080
Listen [::0]:8080
Save the file and restart Wamp by clicking on Restart all services.
You will now be able to log in with your URL: http://localhost:8080 and use Wamp on Windows 10.