In this short guide we will see how to create a Web Api website for Windows Azure with Visual Studio 2013.
Website creation phase
We open Visual Studio 2013 and let's create a new Web Api project, as we can see, during the creation procedure, we are asked (bottom right) if our project will be "hosted"Su Windows Azure:
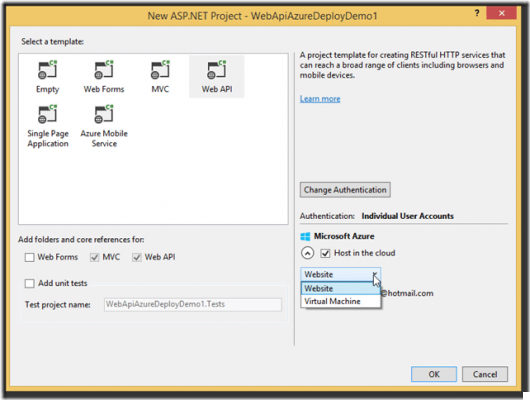
By checking the box "Host in the cloud”You can choose whether to deploy on a Website or a Virtual Machine di Windows Azure, in this example we choose Website.
Continuing the project creation procedure, a new window will appear for the configuration of our Website on Windows Azure:
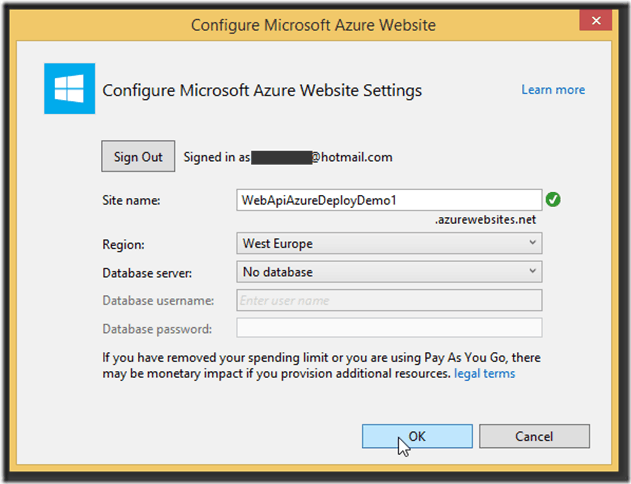
NB Before you can continue you will need to run the login of a user who has a valid and active subscription on Windows Azure.
From the Windows Azure configuration window you can:
- Enter the website name eg WebApiAzureDeployDemo1
- Select the Region in which to publish the service
- Optional: Select or create a database su Windows Azure
NB Once the Website name has been entered, the system will automatically check for the presence of another Service (Website), if the name is still available a green icon will be displayed.
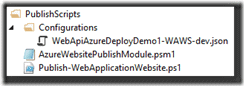
Once the procedure is finished, Visual Studio will create within our solution, in addition to our new project Web Api, also a folder containing all the scripts needed to deploy the Website on Windows Azure.
Now that we have finished creating and configuring our project for Windows Azure, we can proceed with development.
Happy coding