Here's how to use the Bank and Pokètransferitore.
Download the Bank
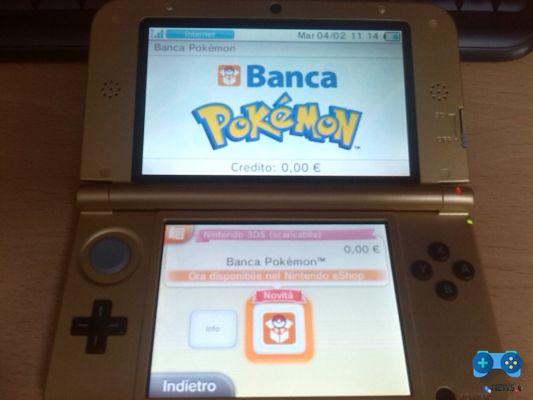
First you need to download from Nintendo eShop Pokémon Bank: to do this, you need a Wi-Fi internet connection and a Nintendo Network ID account. If you don't know how to create it, find all the information on the official Nintendo page: HERE. Make sure you have an SD memory card inserted into your Nintendo 3DS (or 2DS) system with at least 457 blocks available (218 of which will be needed for the Transfer); you can check the available space by going to Settings> Data Management> Nintendo from the Home menu. 3DS> Software: the available blocks will be displayed on the console's top screen).
At this point we can access the Nintendo eShop (always from the Home menu) and download the application (the download is rather light, it won't take long).
First start
Enter the Pokémon Bank
At this point you need to insert the game cartridge Pokémon X / Y on which to use the Bank and select it by pressing “Use this game”. If it is not the correct cartridge, click on “Back” and change it to the desired one. The loading with the server will start, at the end of which we will be given a special gift: as many as 100 Pokémiles (wow!), Immediately convertible into 10 Battle Points. Choose the preferred option (or postpone your choice by pressing “Not now”) and you will enter Box 1 of the Bank. Here (the touch screen cannot be used, you will have to move with the arrows) it will be possible to search for the Pokémon to be transferred by browsing the Boxes or by accessing a practical list (Y key) where you can filter our creatures by name or biological genre. To move a Pokémon just select it with the A key and place it in the Bank Box or take it from a bank box and bring it to ours. After the transfer, we press X to Save and exit the Bank.
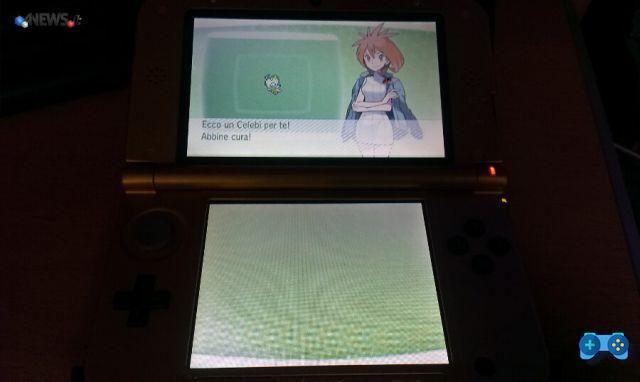
Get Celebi Event
Let's reconnect now again and enter the Bank again to get a much better gift than the previous one: the special Celebi promised in December! Colette will send it to us via Pokémon Link, so we can pick it up directly from the game menu. We leave the Bank and start Pokémon X / Y: in the start menu we choose “Pokemon Link”, select “Yes” and download the gifts from the Pokémon Bank. Celebi will be transferred to one of our boxes in the game (the first with at least one free seat).
Download the Poké Transfer
Having obtained Celebi we can now dedicate ourselves to the other software available from today. We restart the Bank and from the main menu, after pressing the Start button, select the option "Download the Poké Transfer”(By going to Pokémon Bank, instead, we will again receive the explanation of what the Bank is, while the assistance number will be useful in case of problems with the application, but we hope not to have to need it). The system will briefly explain to us that with the Pokétransfer we can transfer Pokémon from the White, Black, White 2 and Black 2 versions and then it will ask us if we want to download the software from the eShop: click on "Download" and then on "Yes" to access new to Nintendo eShop. We follow the same procedure used previously for the Bank and also download this new software, which will appear again in the Home menu. We prepare the game cartridge from which to take the Pokémon, placing the Pokémon we are interested in bringing in X / Y in Box 1, and press "Start" to start the Transfer.
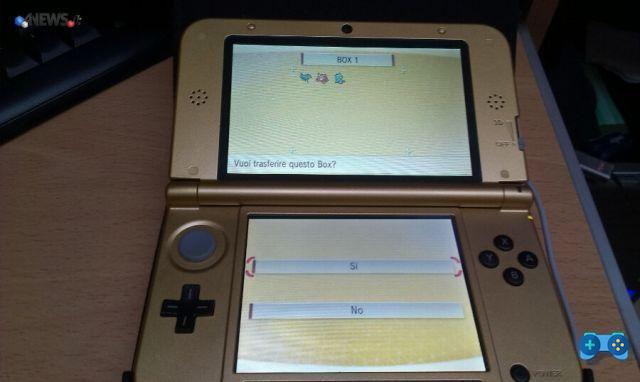
Once the program has been loaded, we press Start and wait for the connection to the server: the software warns us that the process is not reversible, therefore the Pokémon transferred can no longer be used in the old versions; instruments cannot be moved, they will be automatically brought into the bag (if full they will be lost, so be careful). Once the Pokémon contained in Box 1 of the chosen Pokémon version have been automatically loaded, we will be asked if we want to transfer them; press on "Yes" to start the process, which will take some time (based on the number of Pokémon transferred). We will finally have confirmation that the Pokémon are now in the Transfer box Pokémon Bank.
Let's go back to the Home menu and replace the cartridge with that of Pokémon X / Y; let's go back to the Bank now. We enter, move the cursor to the upper screen to choose the "Transfer Box", select it and withdraw the Pokémon just transferred (press Start until you get the green arrow to be able to move more Pokémon at the same time), moving them to the chosen Box (lower screen). We press the X key to save the changes. We will now find our trusty Pokémon in the PC next time Pokémon X / Y restarts.