Are you not satisfied with the photos taken with your smartphone? Are they blurry, dim and low resolution? If you want to get better results in your photos, all you have to do is follow these 5 tips on how improve your shots on best-selling phone devices.
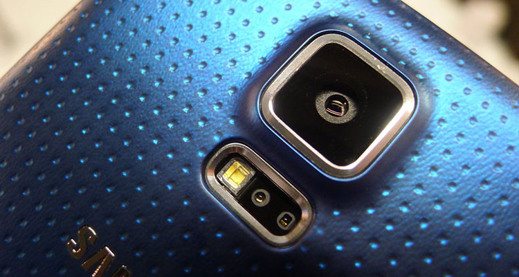
Tricks to get perfect shots with Samsung Galaxy smartphones
More action
If you intend to take photos in motion, we recommend that you activate the function Click and choose which allows you to capture even moving subjects. To activate it click on Ways, Snap and Choose, take the photo and then choose Effect theater.
Blurred background
Too much background can distract the eye of the main element in the photo. On Galaxy s5 there is a feature that you can activate called Selective Focus. This is an effect that allows you to blur objects in the background of the photo. To get there you have to tap on the gear-shaped icon and then on the icon with the two staggered shapes and the writing Selective focus.
Quick shot
For quick shots you have to tap on the gear icon, then choose the item Tap and shoot to activate it.
Photographing Backlight
To avoid backlit photos you just need to activate the HDR mode, however, suitable only for static subjects. To make it active you have to tap on the gear and then on the icon Off HDR to bring up the item HDR HDR.
The right exposure
To avoid taking pictures in imperfect lighting conditions, you can select the most suitable exposure metering by varying it between Center, Matrix and Spot. To activate it, tap on the gear icon, then select Measurement mode and try the three ways explained.
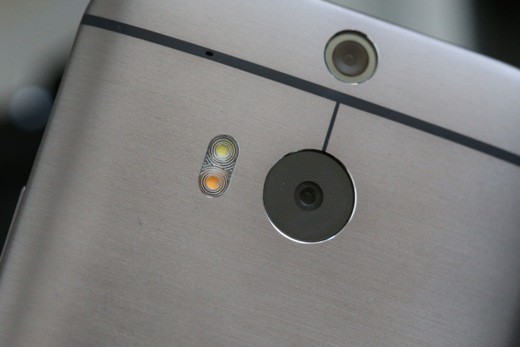
Tricks to get perfect shots with HTC One smartphones
The right settings
Are your newly taken photos too bright or lacking color? Aren't they sharp? HTC offers the possibility to adjust all these parameters. To do this, tap on the three points then on the gear icon and finally on Image Adjustment. We act on the sliders until we get the desired effect.
Shoot against the light
Do you have to take an interesting photo but do you have the sun in front of you? Don't worry with the HDR mode you can get a much better photo, the important thing that the subject is not moving. First you need to tap on the three points, then on the icon Car and choose HDR from the list of available choices.
Effective presentations
If you don't have the time or the desire to create presentations with your HTC, you can have it done by him. Open the app Gallery and select a photo album, then tap on the icon that looks like a sheet with a pen on it. Below you can select the images to include in the slideshow, then scrolling to the right, a theme among the 12 available and the music that will accompany the scrolling of the shots. Finally, by tapping the icon with the arrow visible at the top right, you can share the presentation with your friends.
Make up digitale
Do you need to retouch a photo, with the automatic retouch function it's easy. Just tap on the usual three points at the bottom left, then on the gear icon and choose Retouch Level, modifying the slider until the desired result is achieved.
Always smiling faces
If you want to be sure to shoot when the subject smiles you have to tap on the three points, then on the gear icon and choose Camera options. In the new screen tap on Automatic smile capture to activate the function. So the camera will shoot as soon as the subject laughs.
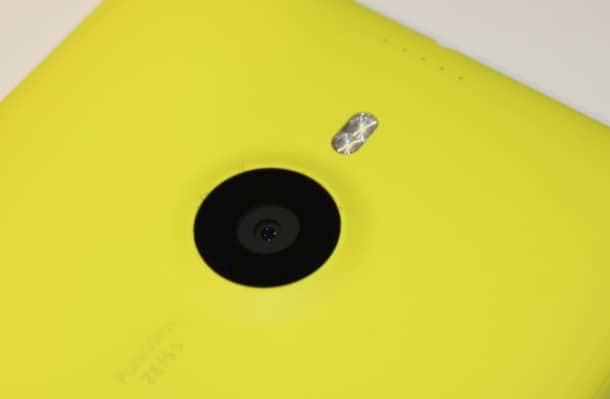
Tips to get perfect shots with Nokia Lumia smartphones from 2012
Nokia Camera, the best camera app
The app Nokia Camera is the best and richest app out there. It offers features like manual focus and shutter speed control. Set it as the default camera. To do this you have to open the Settings, swipe left to bring up the tab Applications, scroll down to search for the entry Gallery and camera, then in the Default Camera App pane, choose Nokia Camera and not Microsoft camera. If the app is not present you can easily download it from the Windows Phone Store.
Lighten the image
Often it is necessary to darken images that are too light or lighten those that are too dark. To do this, drag the shutter button towards the center of the display. A series of sliders will appear: the symbol on the innermost circle allows you to change the brightness. Experiment by moving it up and down until you get the effect you want.
Photographing against the light
Taking a photo against the light, with the sun in front of the lens is not very easy. However, with the right settings, a good result can be achieved. To do this, just tap on the three points and enter Settings. Here you look for the entry Bracketing exposure and plug us up, now in Number of photos to shoot you choose 3 or 5, then in Exposure range choose one of the three proposed values and tap on Tax to activate.
multiple photos
Add motion blur, remove unnecessary objects or choose the best image, are just some of the functions proposed by the app Nokia camera. To do this, just tap on overlapping squares to activate the Smart sequence, point the camera and tap the square icon again to shoot. Now open the recorded image and tap the bottom left to make it appear Smart sequence edit, then swipe up or down to select your preferred mode.
Light Painting
If you take a night shot by setting a high shutter speed and holding the phone firmly, perhaps with a tripod, you can capture the trails of car headlights, for example. To do this, just tap the shutter button and drag it towards the center of the display. The second circle starting from the center allows you to set the shutter speed: the longer the time, the more it will be possible to draw with light. Try and experiment until you get the desired result.
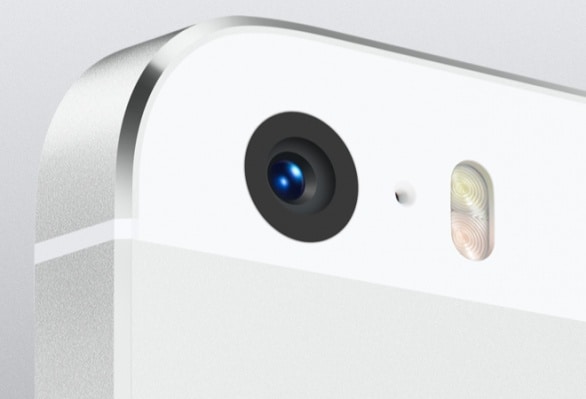
Tricks to get perfect shots with iPhones
HDR and normal photos
With the latest version of iOS, in the iPhone 5S the mode HDR it is active automatically, in previous versions, however, it is necessary to activate this mode manually to have a better lighting of scenes with strong differences in brightness. Sometimes, however, the image has distorted colors, so you need to set the app to make sure that it also saves the original without HDR and then choose the best image. To do this, just tap on Settings, then Photos & Cameras and activate theHDR.
Focus on a subject
Are you going to photograph a person using the golden ratio rule? Then focus on the subject and then move the frame to the side taking care to lock the focus and exposure first. The technique works well thanks to the AE / AF lock. To do this, just hold the camera so as to have the subject in the center of the display, focus, then tap where you want to move the subject and, when, the writing appears Blocco AE / AF, released. Focus and exposure will be locked from now on.
Reverse views
Annoying: On the iPhone, panoramic photos require you to always start on the left side and swipe to the right. Few people know that the reverse is also possible. To do this, just go to mode panorama, slide your finger to the right until the arrow pointing to the left appears, then tap the button.
Touch exposure compensation
Often it happens to photograph subjects with little lighting. There are, therefore, parts in shadow or parts that are too light to make you lose the details. In this case, to improve the situation it is necessary to juggle with the exhibition. To do this, just tap on the subject to be photographed and if it is too light or too dark, try tapping on other points, even at the edges, to improve the exposure reading by the camera.
Activate the grid
In the display of your iphone it is possible to activate the grid to better align the framed subject, thus obtaining perfectly straight images. To do this you have to open the Settings and plug up Photo & photocamera and activate the option Grid.
Tricks to get perfect shots with LG smartphones
Increase the resolution
To perfectly take photos to the smartphone display, LG uses the 16: 9 aspect ratio as standard. However, if you shoot to print on paper, the 4: 3 format is better, which also allows you to increase the resolution from 10 to 12 megapixels.
Adjust the brightness
Did you take a night shot that was too dark, or one that was too bright? Next time before shooting, use the exposure control to lighten or darken the images. To do this, just tap on the gear icon in the toolbar and then in Brightness. adjust the setting according to your needs.
Manual focus
Often the camera focuses on most of the objects in the frame, but maybe not what we want. In this case, manual focus is of great help. To do this, just tap the gear icon in the toolbar, search for the item Focus and tap to set it to Manual. Move the cursor on the display until you have the desired subject in perfect focus.
Blurred photos? Never
When shooting, it can happen that you take a blurred photo because pressing your finger on the display causes the phone to move. To avoid this, it is better to insert a pause between pressure and actual shooting. To do this, just tap on the gear icon on the toolbar, then on timer and enter the desired delay.
More contrast
If you need to shoot against the light, you can use the HDR mode, which manages to increase the contrast significantly. To do this, just tap on Mode and then Dynamic Tone (HDR). Remember that this only applies to stationary subjects and does not work on the LG G Pro.
Tricks to get perfect shots with Sony Xperia

Special focus
As with standard cameras, the Sony Xperia Z1 and Z2 smartphones (not the Z) also have a two-position shutter button: when pressed halfway it focuses on the subject and also fixes the exposure. By moving the shot these values remain fixed. To do this, just focus on the subject by pressing the camera button halfway. Hold it down and move the smartphone to compose the scene as you see fit.
Images in quick succession
In order not to miss the magical moment and capture the unforgettable moment in the photos you need to be very good, but often this is not enough. A valuable help can give us, the rapid sequence mode, which allows you to take hundreds of photos in a few seconds. To do this, just tap on the three points, then on Press and hold for multi shot. and select High speed. This mode allows you to take 62 photos starting from one second before pressing the shutter button and ending one second later. Then you will have the possibility to choose the photo to keep.
More megapixels
The default setting of Sony smartphones allows you to take photos from only eight megapixels. But the sensor actually has many more. To increase the resolution you need to switch to Manual mode. To do this, just tap on the icon in the lower right corner. Once this is done, tap on the three points, then on Resolution and choose the maximum available megapixels.
Fun effects
With the function AR effect you can insert alternative subjects, such as butterflies or even dinosaurs, into your shots. The trick does not apply to the Xperia Z. To do this just tap the circle immediately below the shutter button and select the desired scenario in the menu Ar effect.
Photo with a beautiful smile
Automatic timers are convenient but inflexible. Once the set time has elapsed, the shot is made and stored. To make the smartphone shoot when everyone is posing and smiling, you need to activate the mode Smile Shutter. To do this, just tap on the three points and select the mode Smile Shutter, then select the size of the smile that will trigger the camera shutter.
Other useful articles
- Best photo cameras
- How to take photos for Instagram