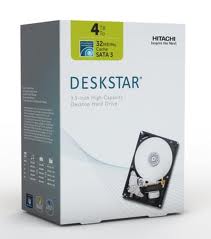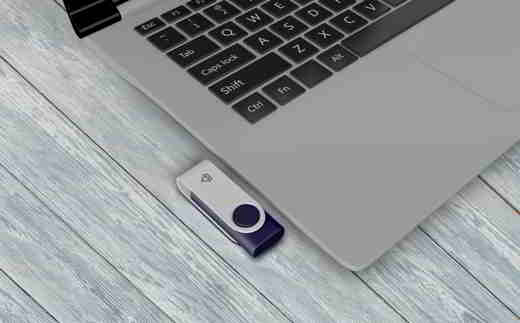
You have just bought a new hard drive or SSD to expand your PC's storage memory. You are all happy because soon you will be able to download other games or save heavy content without worrying about deleting anything else. Connect the hard disk or SSD with their cables, turn on the PC, enter Windows and… nothing, they are not recognized.
Don't worry, it's not a hardware problem. You have simply not yet performed the initialization, that is, the allocation of the space on the hard disk. If you are installing the operating system for the first time, this is done automatically as soon as you select the destination partition.
If, on the other hand, you are expanding the storage capacity of your PC, you need to follow these simple steps for the hard disk or SSD to be recognized. Note: the guide is based on Windows 10, but the procedure is the same even on previous versions.
- Type "disk management" in the search bar at the bottom left and select the first match, which should be Create and format hard drive partitions.
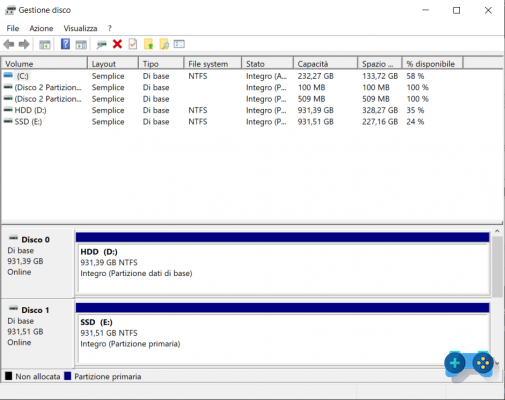
- In the list that appears, locate the hard disk or SSD whose partition is unallocated (black color) → right click → Initialize disk.
- At this point, select the type of partition between MBR or GPT (just below you will find the difference) and click OK. The hard drive is now ready for use.
Difference between MBR and GPT partition
Most PCs use the GPT type because it is more reliable and allows volumes greater than 2 TB. The MBR type, on the other hand, is used by 32-bit PCs, obsolete computers, and removable disks, such as memory cards. Consequently, unless you have a 32-bit system or a very old PC, always select GPT.