If you have more than one PC in the house and you have a WiFi network you can share files and folders using Windows functions quickly and easily.
All you have to do is create yourself a Home Group. How you do it? Read on and you will find out how to share files and folders on the network.
With the system that I will explain to you, you will no longer have to transfer documents from one computer to another via USB key or other system, just copy them to public folders already present in Windows. You will be able to access the files from any of the other computers connected to the network.
How to share files and folders on the network

To share files on the Network with Windows, from Control Panel go to the card Rete and Internet and click Home Group to begin the procedure that will allow you to share files between home PCs.
On the next page, Windows warns you that none are available at the moment Home Group. Click the button Create Home Group.
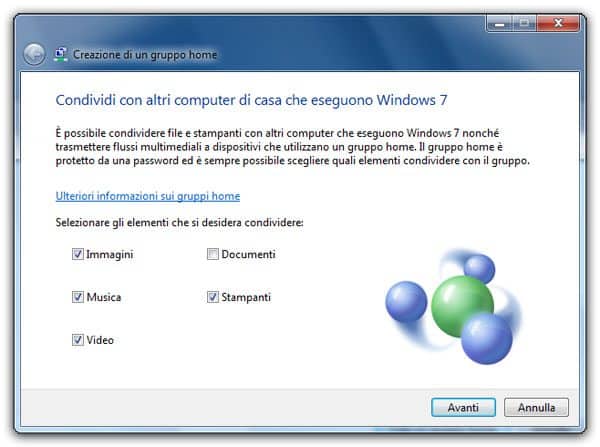
A window will open where you can decide which items to share between Images, Music, Videos, Documents and Printers. Check all the boxes and choose NEXT.
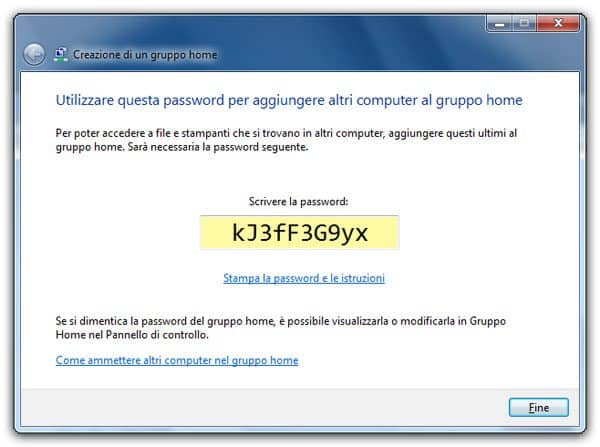
Windows will provide you with a password to enter on all PCs you want to be part of Home Group. The password remains available on the screen, write it down so you can remember it.
Now go to another PC to insert it into Group. Go to the Control Panel and open again, Home Group. This time you just have to choose to join the group by pressing the button Participate now.

In the following screen, you will be prompted for the access password, what you wrote down. Type it paying attention to upper and lower case.
Now that the group is ready, in the left column, in the Computer resources, you will see the section Home Group and under the PCs that are part of it.
Click a PC in the group e you will see the shared folders. By copying and pasting a photo into the Pictures folder on one PC, you will notice that it will be present in the same folder on all other PCs.
For sharing to work flawlessly, you'll need to configure yours Public Profile. Go to Control Panel and Rete and Internet, click your Connection and sharing center. From the column on the left choose Settings advanced sharing and be sure to click the arrow next to Public. Now, at the bottom, you need to activate the following items: Enable network discovery, Enable file and printer sharing and finally Enable public folder sharing.
These operations must be carried out on all the PCs of the Home Group. This will enable document sharing and you can also use the printer connected to the main PC.
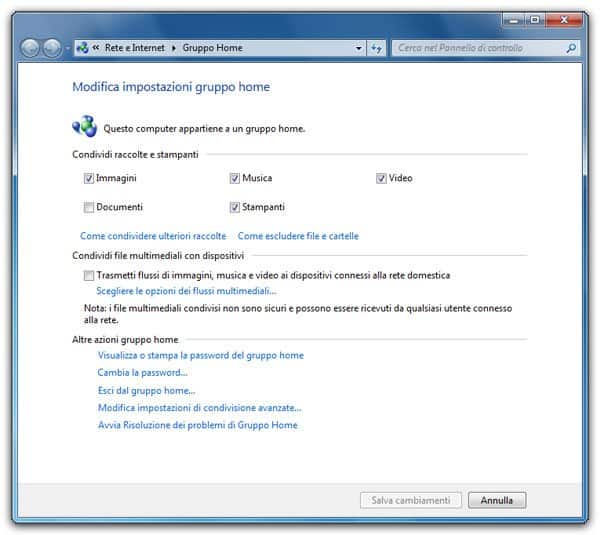
To leave the Homegroup, you need to change its settings and choose from the options below Leave the HomeGroup.
share folder on Network between Windows and Mac. it is necessary to have the two PCs connected to the same WiFi network. Open the Finder and select the name of the Windows computer under the heading Shared. After entering your Windows 7 login username and password you will have access to the shared files on the Homegroup from your Mac.
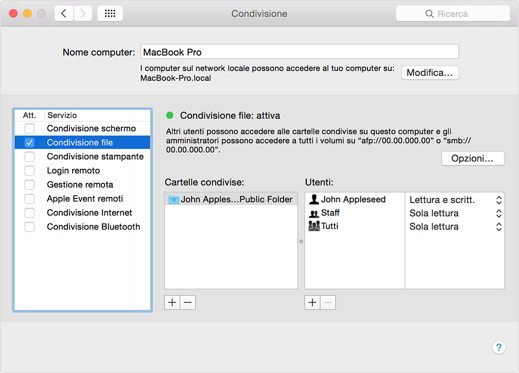
share documents on the Net su Mac OS X you need to access System Preference, click on sharing and check the item on the screen that appears. Immediately afterwards, press the button +, select the folders to share on the network and set the read and write permissions using the box located on the right.
Another solution is the use of cloud through which you can store files and folders on a virtual server for free, sharing them with other users online.