We have finally arrived at a less dense episode of this guide, in which we will have plenty of time to dedicate ourselves to some healthy backtracking.
The use of new powers to open new paths is a typical feature of the Metroidvania, of which Hollow Knight is a part. There are many places that we can now reach, combining the power of the Mantis Claw with that of the Moth Wing Cloak. Before reaching the Screaming Cliffs, let's retrace our steps and recover various useful things.
Let's start immediately by moving from where we left off, the Queen's Station. Before leaving the Fungal Caves (temporarily) it is worth equipping the Spore Mushroom amulet and reading the two Totems of this area, circled in the map below. By the way, at this stage of the game it's a great build that consists of this, the Compass and Soul Reaver.
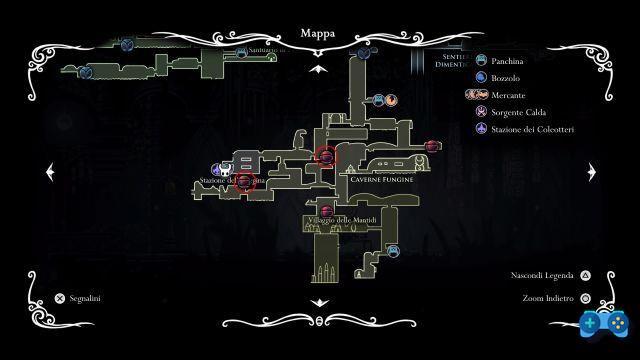
To reach the first Totem, we follow the “top” path of the Caves, until we reach the first vertical room, with a threatening Sporia. This brings back the words: "Carefully we accept the will of theUroworm. Her foresight protects us. We will intertwine Fate and Future. " For the first time, we hear of a Weirworm, but be aware that it will not be the last.
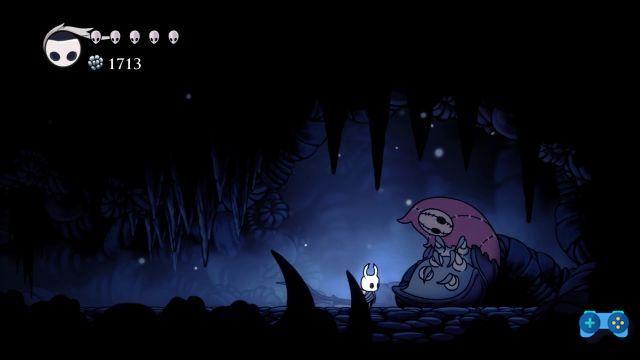
For the other totem we have to go back and proceed down to where Cornifer used to be. Arrived at the back of this room, we continue to the left untilarea with the huge bramble hanging from the ceiling. Here we have to reach the upper right corner, where our goal is hidden. It reads: “This boundary holds beings that twist and scratch. Theirs deceased lord, once a noble caste. Their mother locked up, e the vulgar beast. We will make no peace with them. " Here reference is clearly made to Nidoscuro, the dark place that in spite of ourselves we found ourselves visiting for a short time in the previous episode. There is talk of an unspecified gentleman and above all of a beast...
Return to the Paths
At this point, let's go back to the Queen's Station and from here let's move to the Forgotten Paths. Sitting on the bench we will find the surly Tiso, who will mock us for using the line to move us. According to him, true warriors walk. And again he will tell us about this legendary one arena he is looking for. From here let's head towards thelower right corner of the Forgotten Paths, where in the past we have heard a strange chuckle.
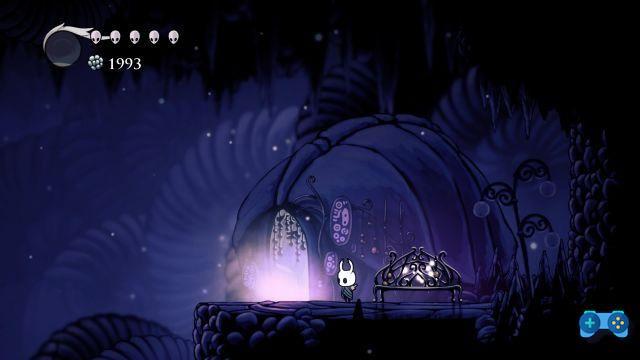
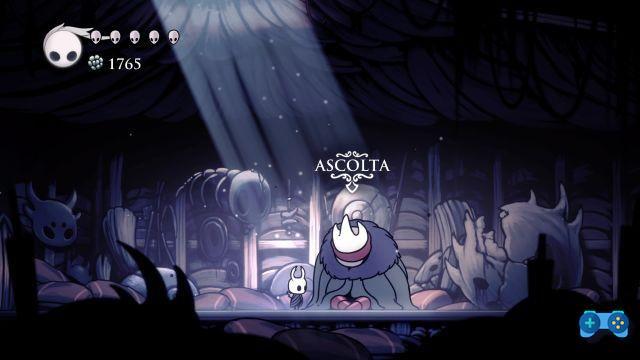
Once on the spot, we enter to know the origin of these sounds. To welcome us we will find a wonderful plump insect that responds to the name of Healthy, the friend of amulets. The insect will think that the inhabitants of Pulveria advised us to come here, but it probably hasn't visited the place for long, given the distorted image it has of it. In any case, she sells amulets and especially hollows, although to purchase these we will have to meet the requirements. In particular we will have to obtain a sufficient number of amulets, no matter which ones.
Shopping tips
An almost obligatory purchase is the first notch, which should be the only one you can buy if you've followed the guide so far. Among the amulets for sale, the only one that is really worth buying right now is Long Sting, which, as the name implies, allows us to strike at a greater distance. Quick Focus is also very useful, allowing us to heal faster, but for now it costs too much and takes up too many sockets. Similar speech for Shamanic Stone, which is quite situational and for now we only have one spell. However, all the descriptions of the amulets written by Salubra ...
Before leaving, we talk to the shopkeeper again, placing ourselves on her right. She will explain to us that amulets can not only be used to combine their effects, but in some cases they resonate together and their powers mix together. We will see some situations where this is particularly effective, but later.
Also Salubra will give us a tip if we run out of conversation with her. He advises us not to overload the worn amulets too much. Instead that's exactly what we're going to do. Let's go out, sit on the bench outside and try to overload the amulets many times. At some point we will unlock the overload mode, which allows us to place more amulets than the available hollows. You can put it on only one amulet in overload, so the ideal is to leave an empty hollow and put an amulet there that takes up 3 or more spaces to maximize the effect. In any case, the price to pay is i double damage that we will suffer while we are overloaded.
For now I advise against using the overload mode. The suggested build at this point is Compass + Soul Reaver + Long Sting. From here, we follow the corridor at the bottom left up to a certain point, then we take the upper corridor, the one with the Gargantovermi. In the second room on the left we had heard a strange sound and it was there an entrance that we could not take at the top. Now thanks to the claw we can.
We follow the platform path paying close attention to our enemies, just choose the right timing and it will be a walk. Be careful when the Gargantovermi will be three in a row: you have to use the dash. Eventually you'll have to drop at the right time to avoid taking damage. You will thus come to another fragment of mask! We now have two. Break the wooden planks and go back to the Station. From here we move to that of Verdevia.
Return to Verdevia
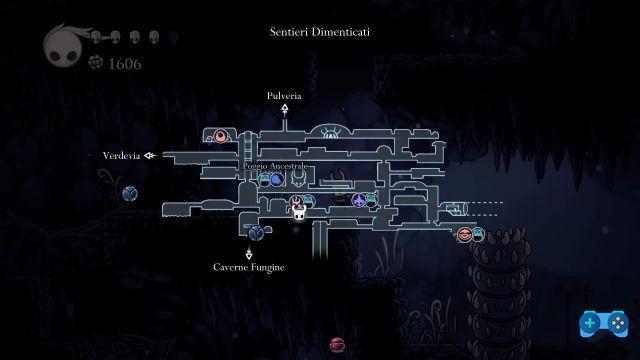
Once here, at the top of the map we can see an open path, near where we faced the two Baldori Anziani. Once in this arena, we go to the right and use the claw to climb along the path visible above.

Continuing to climb from here we will reach the green caterpillar that he could hear himself crying. When releasing it, be careful: two stalactites will detach from the roof. There is a downward path that will take you back to the beginning, but we will continue to the left. From here we will get to the Screaming Crags, really on the edge of the kingdom.
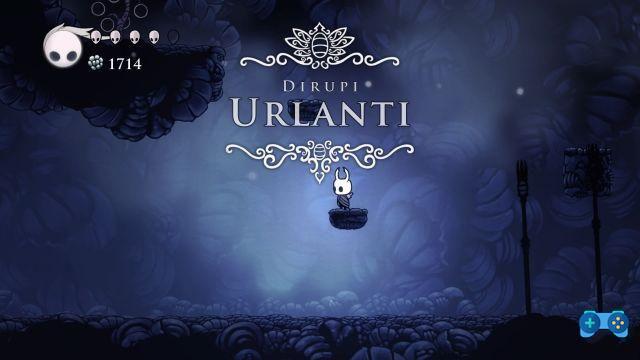
On the edge of the kingdom
Here is immediately visible a sapling like the other encountered in the fungal caves, to be pinned on the map. For the rest, freely explore this large area filled with easy-to-defeat enemies and small rewards.
Going to the left the wind will blow us back, but it is possible to find a Idol of the King, salable object. Going up from the platforms on the left you will find some blocks of Geo. Along the right side of the room you can instead meet Cornifer, who will sell you the map of the place for 75 Geo. Also the good cartographer will tell us about a strange insect he met at the top of this place. An imposing and skilled insect with the sting that lives in these parts. We will soon meet him.
To the right of Cornifer is a dark room we will return to when we purchase the lamp from Sly. Below him is another block of Geo and below it again you can find one destructible wall which will give you access to other rooms. Here we will find a Totem, on the right, which speaks of cursed plains which extend from here to infinity. Especially here we are given an important information: the "mind" of Hallownest's insects it was somehow donated by the kingdom itself.
Going down we will find a Traveler's Diary and some wooden planks to break. But beware, to the right of the boards there is another destructible wall! From here you enter a strange room with an unlit brazier in the center. To the right of this we will find a large dead insect with a red hood on its head. For now there is nothing we can do here, but we will be back in the future.
The Nail Master
At this point we just have to reach the top of the area and continue to the right, in the next one. Here, pay close attention to the spikes on the floor. In the center of this area, at the top, there is a statue, the tomb of Gorb the great mind. Another place we will return to in the future. Immediately below the statue is a small secret room with two blocks of Geo, one on the left and one hidden on the right. Get off here and go straight to the right, at the bottom of the area, to reach a gate. Upon entering you will find a bench and immediately after the man mentioned by Cornifer.
This is called mato and it is a Nail Master. He will tell us about the Grand Nail Master, a legendary figure, and then he will teach us a new fighting technique: theCyclone Attack. At this point we just have to get out of here and return to the area before with the statue of Gorb. To the right of this area we will find a chasm, and launching into it we will arrive at the Pass of the King, the beginning of the game. If we go from here to the left, in the hidden area, we can go back up and open a lift for the Screaming Crags.
In any case, you just have to redo the initial path of the game up to the bench of Dust, where today's driving will stop. Along this short journey you will encounter a secret area. To the right of the first room with the platforms, jumping with the sting upwards. Here we will find the amulet Fury of the Fallen and another Totem addressed to the higher beings, urged to show their true form in this realm. From here, climbing the wall on the right and then dashing over the spikes, we will return to a known area. Here we are exactly where the floor collapsed the first time we passed. On the left, past the platforms, there is a block of Geo in a crevice in the wall.
At this point we return to Pulveria and conclude the episode here. In the next part we will finally set out for the capital, la City of Tears.
Back to the guide of the Fungal Caves part III
Back to the index