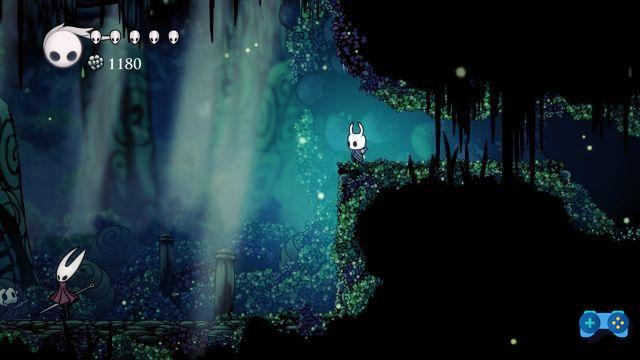
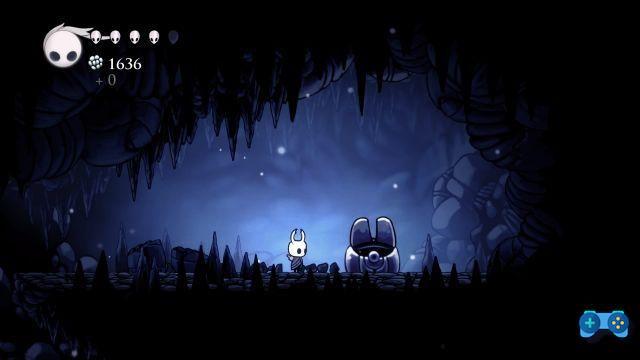
Here we are again in Hollow Knight, ready to to complete (almost) the Verdevia area. We stopped at the beetle station, and from there we resume. We continue to follow the figure in red armed with a pin, towards thetop left corner of the map. So we leave the station, ignore for now the area that continues down and let's go up. From here, we take the road immediately left. We are in a long corridor, the music stops, at the end of this we find one wider area.
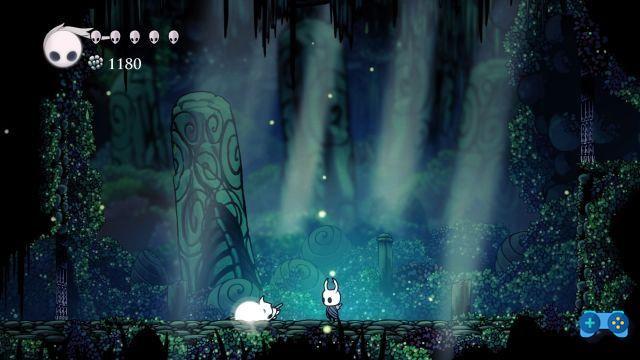
At the center, waiting for us, the mysterious character. "Something terrible is about to awaken“, The being warns us, after having told us to stay away from her. He also claims to know what we are and what we want to do, and to want to prevent it. Lots of information to deepen, but first: let's fight!
Boss: Hornet
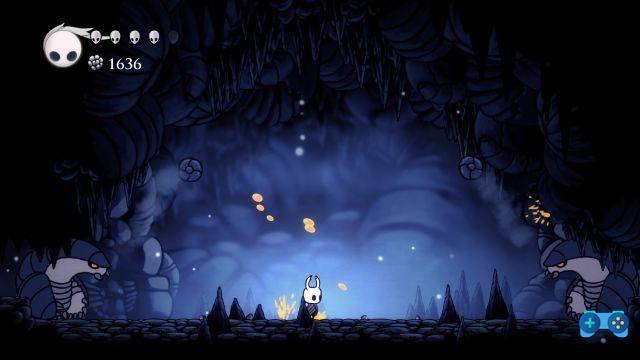
This fight is definitely more challenging than what we have seen so far. Our opponent has a varied set of attacks that he will use randomly. Additionally, some of these attacks will be "announced" in the same way, making it difficult to know what to expect. However, try to understand which "names" correspond to the attacks that are about to arrive. When Hornet is on the ground, he can throw his pin at you, then pull it back, or he can dash forward at you. When he jumps, he can instead stop in midair and unleash a small storm of attacks around him, or dash towards us. Learn each attack well, be careful, understand how to dodge and at what intervals you can attack. Once hit a good number of times, Hornet will crouch for a few moments, giving you time to heal. You will have to knock it out three times before the fight is over
Once defeated, Hornet will throw his pin and flee. For the first time we have dealt with a sentient being, who had a reason to confront us. She didn't let us take her out, but she left the battlefield before the end. He gave us some food for thought very interesting, however: who or what are we? What is our goal? What is about to wake up?
Power up
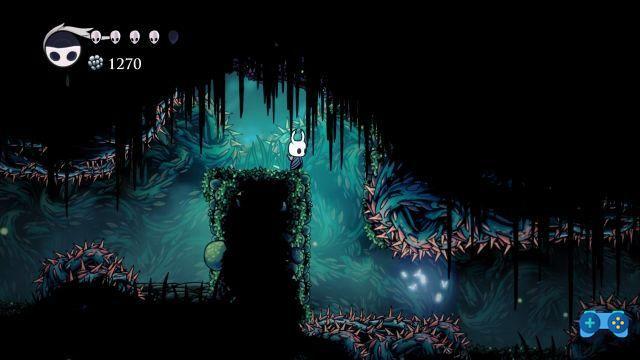
At this point, let's examine theground object, close to the body of a being vaguely similar to us. We got the Moth Wings Cloak, an object that allows us to quickly shoot both on the ground and in the air. Basically, we got it the dash, a classic power-up of the Metroidvania genre that will open many paths for us.
Once we use this new power, the way will open, but first a strange event interrupts us. An unearthly force holds us back, some strange symbols around us and a dream voice in the head: “Maybe he wants to break the Seals? They cannot be broken. They must be broken. Little shadow, let us sleep. Go back to the darkness you came from. Leave us alone. " At this point they will appear three mysterious figures suspended in the air, almost coming from another dimension ... Or maybe from a dream. More information, which however opens up other doubts: who are these figures? What are seals? What darkness do we come from? Questions for now destined to be unanswered.
Lake Unn
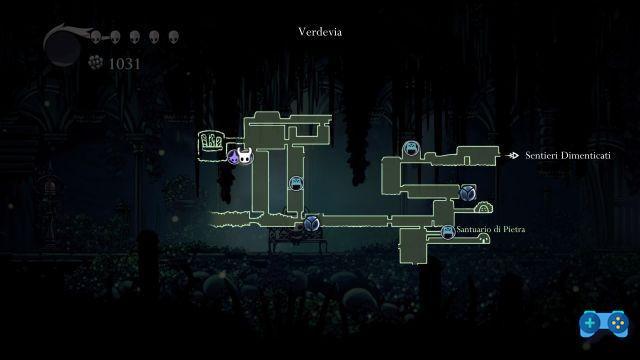
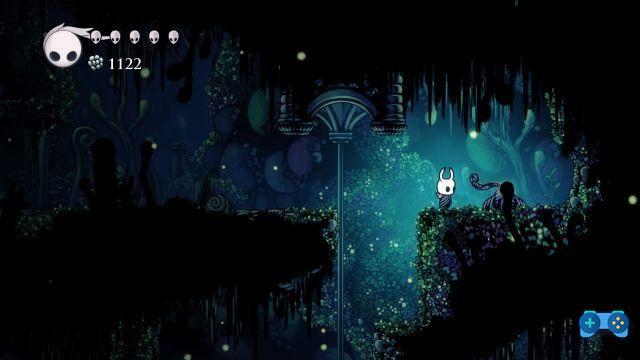
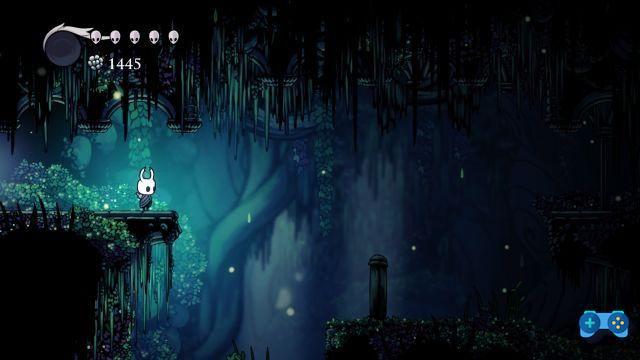
Once we regain control of our knight, we continue to explore Verdevia: now we have much more mobility, thanks to the new cloak. Immediately below, thanks to the shot in the air we will be able to recover a block of Geo. Once at the bottom, let's continue to the left. Past an empty corridor, we find ourselves near what it looks like a temple, close to a lake, the Lake of Unn. Again this name, which has been mentioned several times in Verdevia. Entering the building we find a bench and our friend Quirrel. Behind him you can see a strange statue in ruins, almost a religious idol.
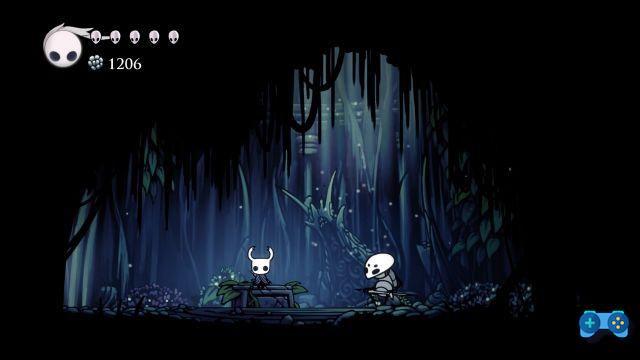
The brave insect is intent on cleaning his sting and if we talk to him, he will tell us about these verdant and full of life places and the place of worship where we are. It will also tell us something about our quill, which apparently has obvious signs of wear and may not be enough against the fearsome enemies we will encounter. He will also tell us about a strange guy outside the temple, near the lake. Let's get to know this figure. Or rather, let's go and let him know our sword, since it is a Mossy Knight. Once defeated, for now we can only contemplate the lake.
From here we go back, breaking the wooden planks we go up the corridor that led to the boss and we go back to the Coleoptera station. Before exploring the lower part of Verdevia, we go back near where we met Zote, we reach the point in thetop right corner of the map, where before we could not continue. Using the dash, you can now move on.
It's a trap!
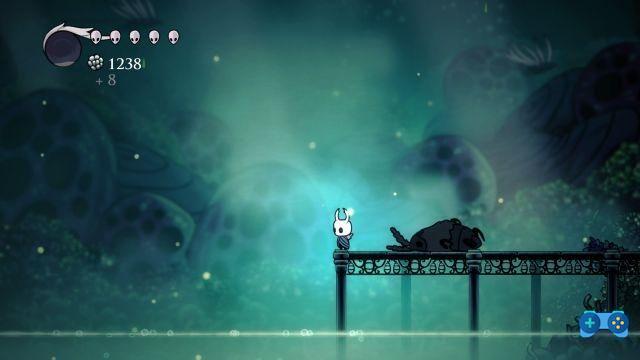
Here we find a fake chest, which gives us only one Geo, but which also opens a passage! Under the chest we can throw ourselves into a real arena, in which we will find ourselves between two dangerous Baldori Anziani. This room can become hell if you don't approach it right! The simple solution is to place one of the two enemies near us, so that it closes in a hedgehog and stops sticking. In the meantime, take care of the other, who will throw the toxic orange liquid and the little Baldori at you. Use the little ones for fill your vial and cast the spell at him to kill him. Once defeated, dedicate yourself to the other in peace.
When you have both of these enemies settled, on left you can break some wooden boards and open a step to go back. On right, you can instead find the real prize of the area: theCarapace of Baldoro amulet. This takes up two slots and allows you to have a shield while concentrating souls to heal yourself. It's not particularly useful in challenging fights, but it's certainly interesting to use while exploring. In any case, you can notice a step up just before the amulet, which for now is closed to us. So let's go back to the beetle station.
Cartographer completism
If you have followed this guide so far, it is all on the Verdevia map a "column" that goes down from here, not yet explored. This is what we will do now. So let's leave the station and enter this large vertical room. Going down pay attention to Tafidi, annoying mosquitoes, but also ai Unstable mosses and Devorasciocchi. Go down following the left wall of the area: there is a block of Geo to collect, but also a platform to drop to open the passage. At the bottom, we find one lever defended by a treacherous Divorasciocchi.
Activating it, we will open a small gate, which would have blocked us if we had explored the area from the bottom. Under the lever, on the left there is a block of Geo defended by another Divorasciocchi. From here we returned to the area with the brambles explored in the previous part of the guide.
At this point, on the map we have two parallel vertical “columns” and to their right a passage upwards. Let's go here to find ourselves in another room that goes up. Immediately on the right, past an Unstable Mossy, there is an entrance leading into a corridor. Now we must harness our new power to overcome electrical discharges avoiding brambles. Be careful, because it is very dangerous, but it's worth it: at the end of the route it awaits us an amulet. Thorns of Agony is a very useful item, which at the cost of only one slot allows you to have an automatic counterattack when you take damage, at the cost of a few souls. Take this into consideration.
Everything is connected
Returning to the previous area, we keep going up. We overcome the various enemies paying attention, and we reach the top. Before continuing to the top, we are on the left three Tafidi to defend a block of Geo. The choice is yours whether to try to collect it or leave it there, based on how much life you have. Going up, we continue towards left: from here we will return to the right “column” explored previously. After some wrecks, we go up and zigzagging we go left. We are in one family area, in correspondence with a passage that we had previously ignored.
We have nothing to do here, so let's go back and go to the right. At the top there are two blocks of Geo defended by a Divorasciocchi. From the path below to the right you continue, at the bottom there is another block of Geo defended by two Indolent Mosses. The next room is another corridor with various enemies, including a Rhinodon. Once passed, we find ourselves in an area already seen, almost at the beginning of Verdevia, in a previously unattainable point. However we now have the dash!
From here, we go down downward, towards the bench indicated on the map. At this point, our exploration of Verdevia is almost complete. In the next guide we will visit the areas below, the last rooms of this area, and then go to the Misty Canyon!
Finally, I invite you to subscribe to ours telegram group to have a direct relationship with the editorial staff. This way you can do any questions you want and clarify any doubts, as well as stay updated on all the news from the videogame world.
Back to the guide of Verdevia part II
Back to the index