In this guide we see how to install and use XAMPP.
XAMPP is a distribution of the popular Apache web server which includes MySQL database server, PHP and Perl. His name is an acronym meaning Cross (X) Platform Apache MySQL, PHP PERL
Download the XAMPP installer
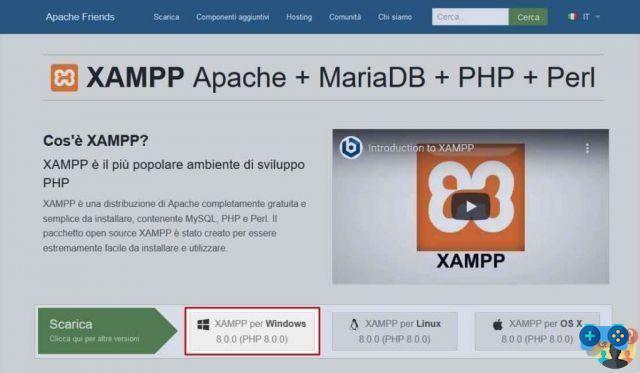
To download the program go to the official XAMPP page https://www.apachefriends.org/it/index.html and click on the button of our operating system. The download for Windows is highlighted in the image below
Once the file has been downloaded, double click on it. If we have User Account Control (UAC) enabled we will see this warning

We simply follow the advice: we will install the program in the root of the C drive in the C:XAMPP folder
Continuing we will find the component selection window. I advise you not to change the selection. Surely we will have to select MySQL, phpMyAdmin e Fake Sendmail in addition to the mandatory and non-deselectable components (Apache e PHP)
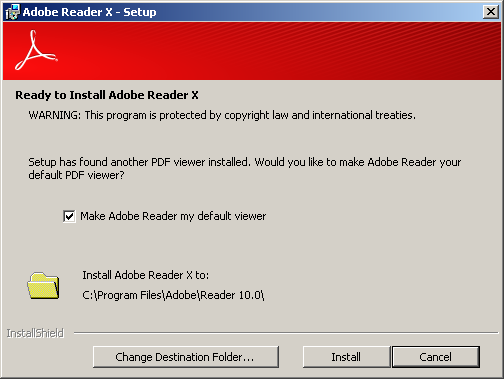
Then select the installation folder
We select the language to use by choosing between English and German, and finally we install the program
Towards the end of the procedure we will see a warning from the Windows Firewall asking us to allow network connections to the Apache web server. Check all networks and click the Allow Access button
After installation, leave the check mark on the box to run the XAMPP control panel and click on the Finish button
If we left the checkmark on the option Do you want to run the XAMPP control panel now? after a few seconds we will see the command panel window from which we will be able to execute the various components of the program
XAMPP Control Panel
Using the XAMPP control panel is very simple.
For each module we can perform a series of actions represented by 4 buttons:
- Start / Stop: this button is used to start or stop the module
- admin: Runs the module administration utility. In the case of Apache it opens the default web page (http://localhost); while in the case of MySQL it opens the browser to the phpMyAdmin page (http://localhost/phpmyadmin)
- Config: allows us to select and open the configuration file of the various modules
- Logs: Open log files
In addition to these buttons, there are other buttons on the right side of the window. The most important are the following
Config button:
Opens the Control Panel configuration window.
From here we can choose the editor and the default browser and we can select the modules to start automatically when starting the control panel (I recommend activating Apache and MySQL) as in the image below
Click Explorer
Open xampp installation folder
By clicking Quit
Close the XAMPP Control Panel
Please note:
Any active modules will not be shut down
Now that we know how to start the various modules we can install WordPress on our computer


![[Solved] Android App Won't Open Problem](/images/posts/a150cb8db0eb50df4b79257485e3c04c-0.jpg)