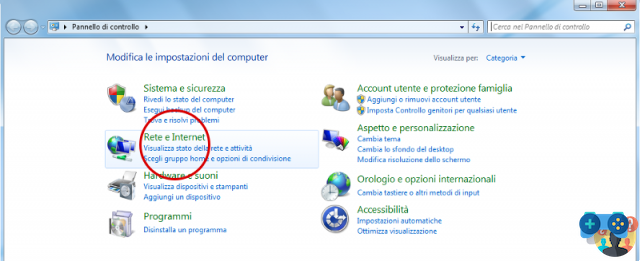
- From the Start menu, open the Control Panel
- Click the Internet Options item, or first the Network and Internet title
and then the title Internet Options 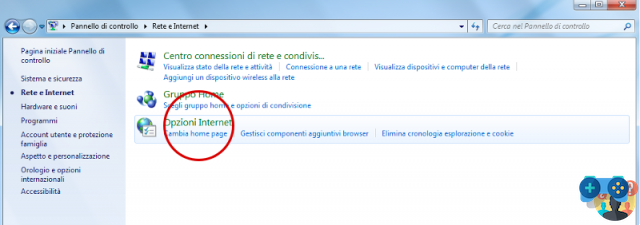
Bring up the Connections tab 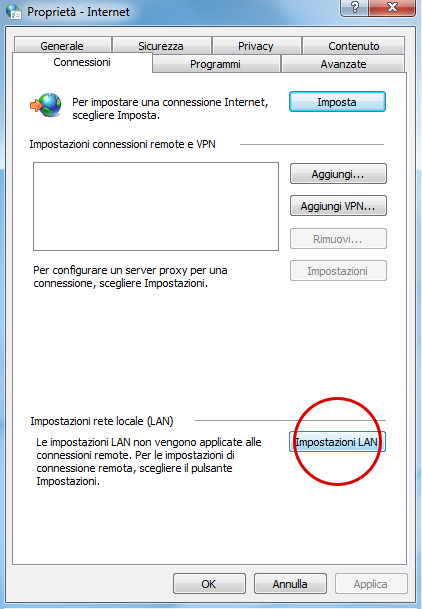
Click the LAN Settings button at the bottom of the tab - Check the item Use automatic configuration script and enter this address: http://homepage.cab.unipd.it/proxy/proxy.pac
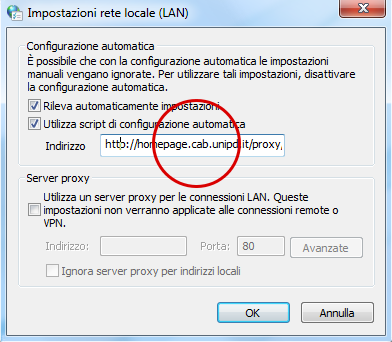
Click the OK button - To disable the proxy, uncheck "Use automatic configuration script" and click "OK".
Remember to deactivate the proxy when you finish consulting the resources so as not to burden the traffic on the reserved bandwidth by slowing down the browsing for other users.
Windows from version 10
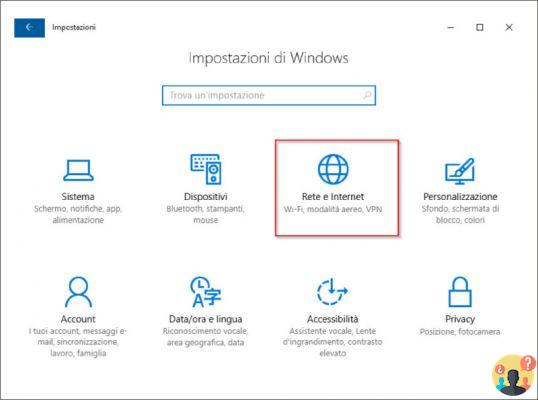
- From the Windows menu, click on Settings (the gear icon)
- Click Network & Internet
In the left column, click the Proxy section 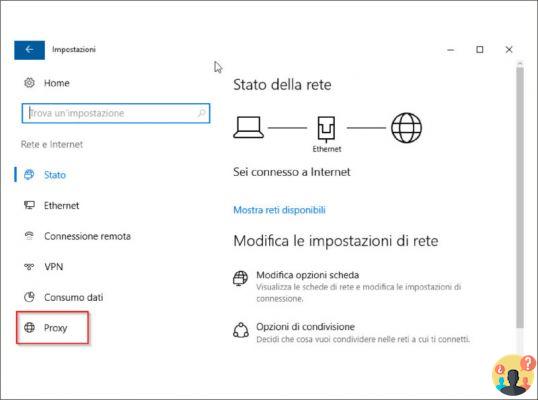
Under the heading Automatic proxy configuration click the Disabled/Enabled button - In the Now active script address field, enter this address: http://homepage.cab.unipd.it/proxy/proxy.pac
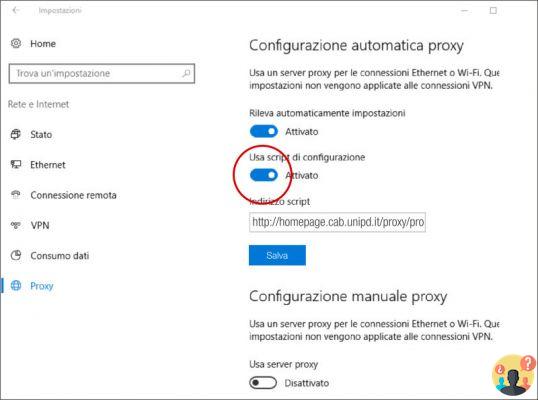
- Click the Save button
In some versions of Windows 10, changing proxy settings requires administrative privileges. In this case you can open the browser with the right mouse button and choose "Run as administrator".
To disable the proxy click the Disabled/Enabled button under the Auto proxy setup heading and save.
Remember to deactivate the proxy when you finish consulting the resources so as not to burden the traffic on the reserved bandwidth by slowing down the browsing for other users.


![[Solved] Android App Won't Open Problem](/images/posts/a150cb8db0eb50df4b79257485e3c04c-0.jpg)